


%20but%20by%20showing%20you%20all%20the%20ways%20it%20can%20be%20done.%C2%A0%0A%0AWe've%20partner...)
How To Make A Mug Using Clay
Here at Bedfolk, we want everyone to wind down well. Not just through our soft & comfy products (although that definitely helps) but by showing you all the ways it can be done.
We've partnered up with Borja Moronta an Edinburgh-based potter, who shows us how to make his bestselling, tapered coffee cups.

The art of pottery is a highly therapeutic and relaxing process - a great way of improving your overall wellbeing.
Equipment needed:
- Scorer
- Brush
- Metal tongs
- Kiln
For throwing:
- A potters wheel
- Several metal ribs
- Sponges
- A pointer or potters gauge (for repeating the same shape)
- Wooden batts (allows the clay to be removed from the wheel without becoming distorted
For trimming:
- Giffing Grip
- Sharp loop turning tools
- Spinner

Borja in action
Instructions:
Step 1: Preparation
I prepare and wedge the clay (the process of kneading the clay with the hands to remove air bubbles).
Step 2: Throwing the cups main body
I start by centering the ball of clay on the wheel using a good amount of water. This allows me to open and start shaping the clay before I start pulling the walls to the dimensions required. I use a potter’s gauge to help me throw multiple cups in one session, consistently.
Step 3: Trimming the cups main body
At this stage, and after the cups have dried for a day or two, the clay is at “leather hard stage”, meaning I can remove any excess clay and achieve the final shape of the main body. They are polished with a metal rib to ensure a smooth surface.
Step 4: Reclaiming
All the trimmings and scraps that are removed from the cups, are kept aside in a bucket. They will be left to fully dry before I rehydrate them in order to recycle and reuse them. Clay is a fully recycled material before its first firing, meaning nothing is wasted at this stage.
Step 5: Handling the cup
Once trimmed, and the handles have been extruded and prepared, I score both cup and handle and use liquid clay as a glue to attach the handle. The cups are then left to slowly dry for days, covered under a plastic sheet – ready for bisque firing (to bisque is to fire the clay for the first time).

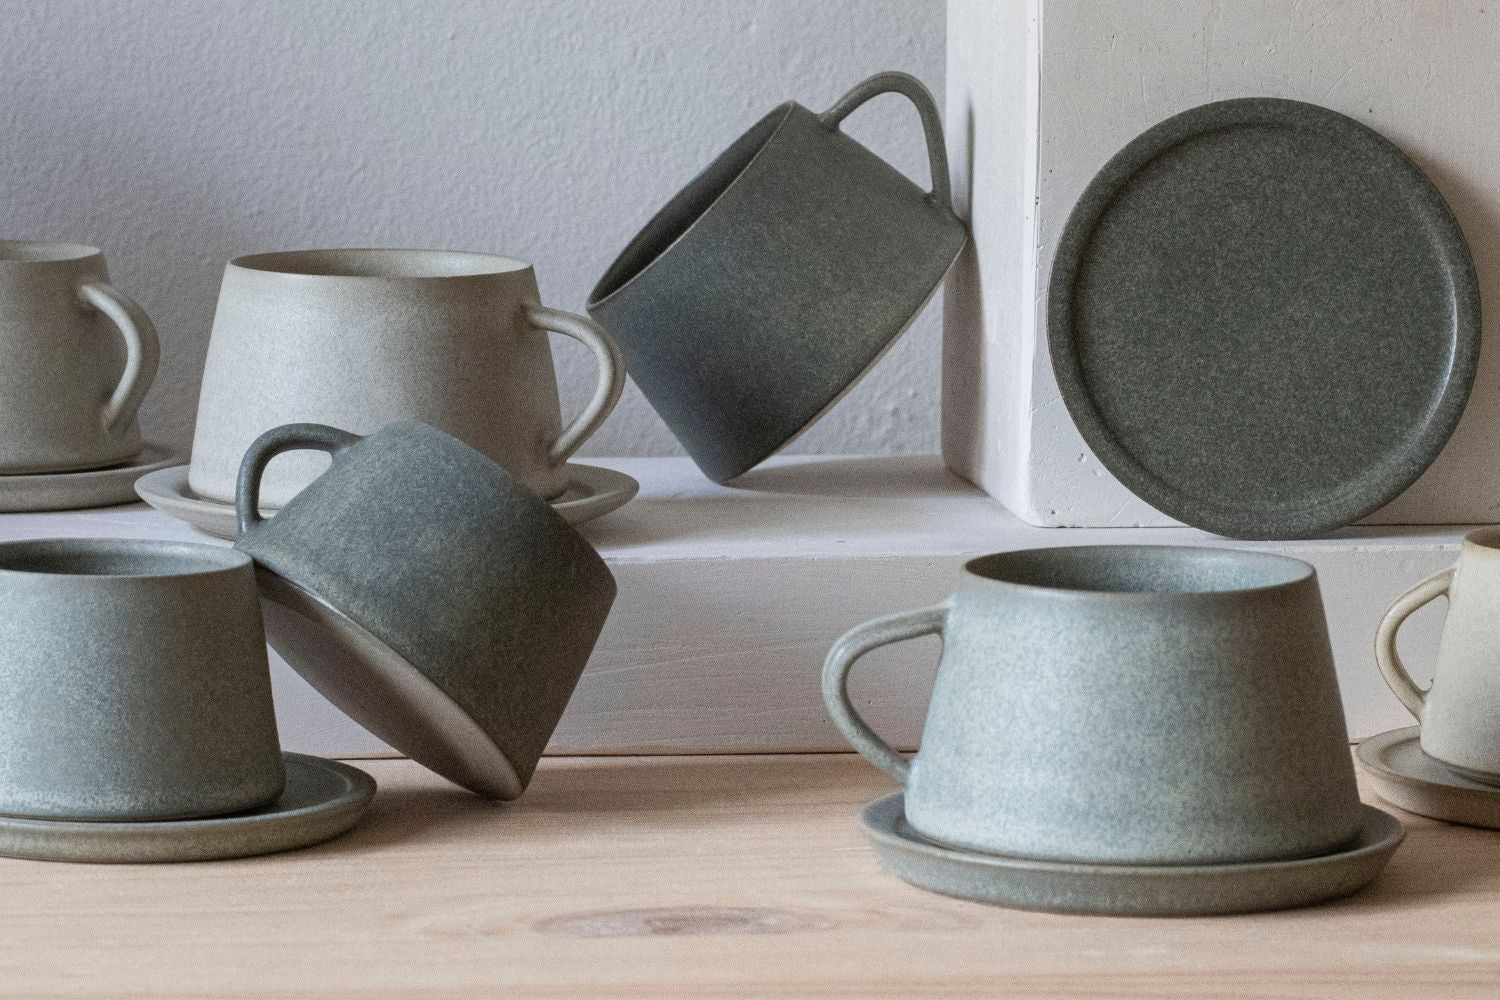
Borja's bestselling, tapered coffee cups
Step 6: Waxing
After a short firing to 1000 °C, which transforms the clay into a porous ceramic material, the bottom of the cup is waxed to stop the glaze from covering the base.
This way it can be safely fired to higher temperatures without the glaze and cup fusing to the kiln shelf.
Step 7: Glazing
The cup is then dipped in a glaze solution containing materials that will become vitrified and give the cup its final look. The colour of the liquid is always different to the final colour achieved due to the alchemy and those materials being exposed to high temperatures. Once dry, the cups then go onto the kiln for a final firing, this one being at 1250 degrees and lasting nearly 16 hours.
Firing now completed. The lump of clay we started with is now a fully functional object. Ready for those morning teas and coffees in bed...
Enjoy!

Read more
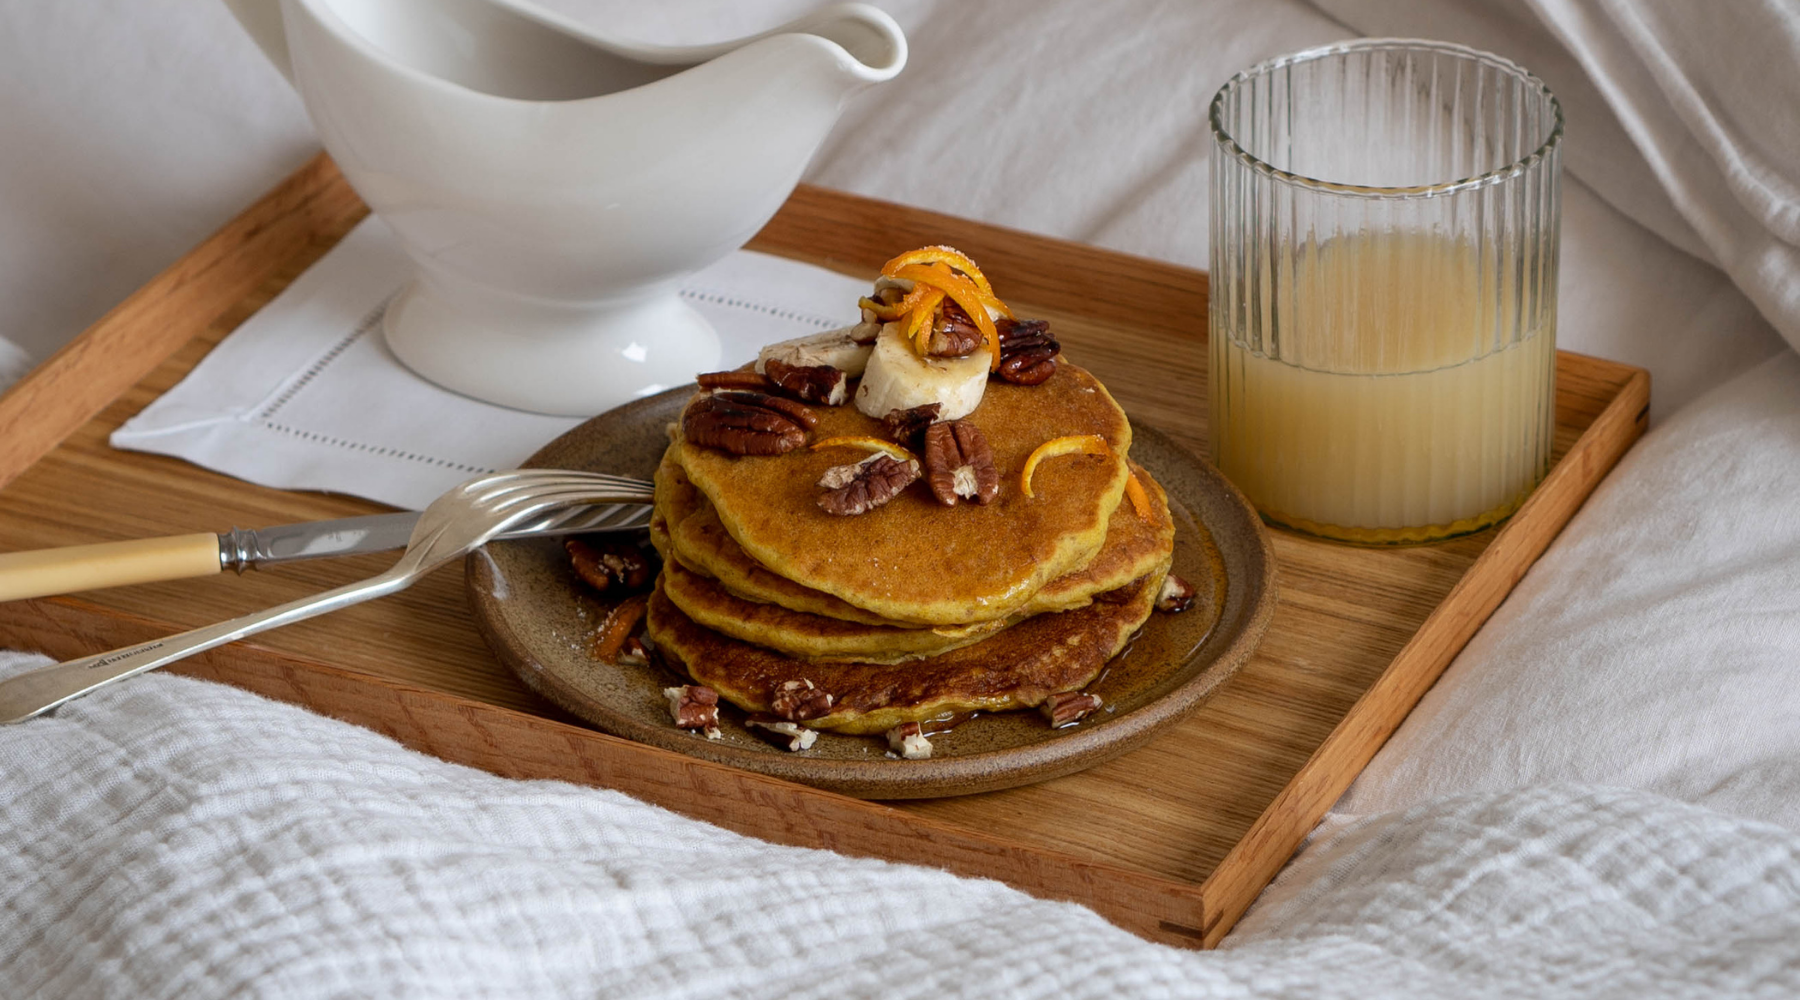
Get ready, set, flip... We've partnered up with The Venetian Pantry to bring you a delicious vegan, banana pancake recipe that's super easy to make.
Read more
The Wind Down With The Proudlocks
This weekend we’re hopping into bed with the Proudlocks, to talk winding down routines, bedtime baths and Matthew McConaughey Sleep Stories.
Read more
Leave a comment
This site is protected by hCaptcha and the hCaptcha Privacy Policy and Terms of Service apply.